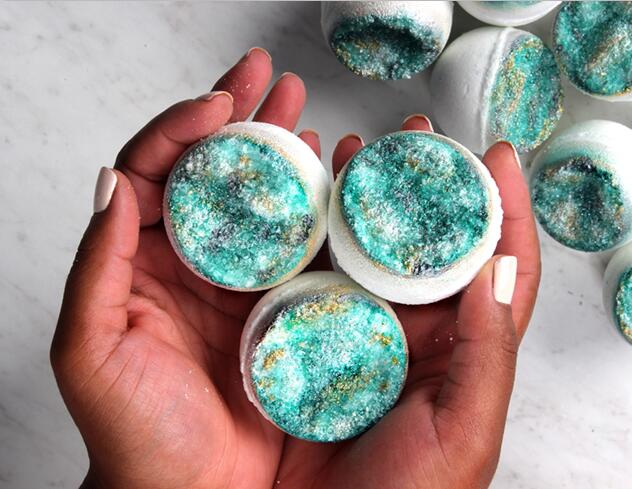
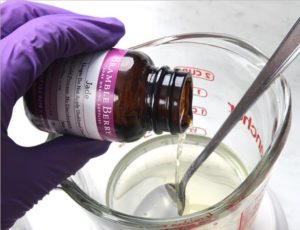
Bath Bombs Procedure(Step 1-8):ONE: Melt the cocoa butter in a small heat-safe container in the microwave using 30-60 second bursts. Because cocoa butter has a high melting point, be very careful when removing the container from the microwave – it will be very hot.TWO: Add the polysorbate 80 and Jade Fragrance Oil to the melted cocoa butter. Stir to mix all the ingredients together. |
 |
 |
THREE: In a separate large container, mix together the baking soda and citric acid. To get rid of clumps in the mixture, you can push the powder through a sifter or break them up with your fingers. Citric acid has a tendency to take off nail polish, so wear gloves to protect your manicure. Thoroughly stir the ingredients together.
FOUR: Add the oil mixture to the baking soda and citric acid. Use gloved hands to thoroughly mix all the ingredients together. Set aside.
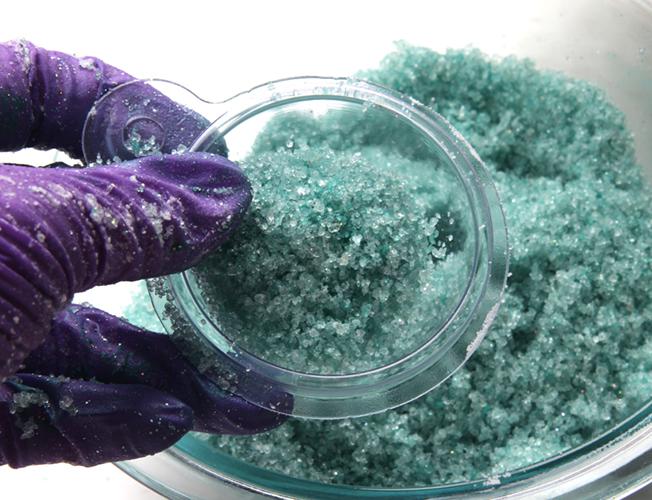
FIVE: In a separate bowl, add the fine grained Dead Sea salt, 1/2 tsp. Fine Silver Rainbow EcoGlitter, and 1/4 tsp. Shamrock Green Mica. Use a spoon to mix all the ingredients together. |
| SIX: Place some green salt into one half of the bath bomb mold. It should fill the mold about 1/3 of the way. Keep in mind that once the bath bomb is umolded, the salt will be dusted off the bath bomb to give the crystal shape. Don’t be afraid to use a deep layer of salt.
SEVEN: Test the consistency of the bath bomb mixture. The perfect consistency for molding is similar to wet sand and holds its shape when squeezed. If it’s too dry, use one hand to spritz the mixture with witch hazel and one to mix. Continue spritzing until the mixture holds its shape when squeezed. Cover the salt with bath bomb mixture. Gently pack the bath bomb mixture into the mold, but leave some loose mixture on top. |
 |
EIGHT: Fill the other half of the bath bomb mold with mixture, packing in gently and leaving some loose mixture on the top. Overfilling each half slightly with loose mixture helps the two halves stick together. Wipe away any mixture that got in the seams of the mold, match the eyelets of each side up, and press together. To avoid any imperfections on your bath bomb, make sure to direct pressure to the edges of the mold rather than the center.
Copyright 2017 - 2022 BOYMAY All Rights ReservedMagic lamp